 Sumas Window
 Building New in Van Zandt: Why the Window Install Deserves Extra Attention
If you're building a new home in the Van Zandt area near Sumas, the windows are one of the few components that have to perform for decades without a do-over. Once siding, trim, and interior finish work close in around a window, fixing a bad install means tearing into finished walls. New construction is actually the best time to get this right — the rough openings are open, the sheathing is exposed, and there's no old flashing or rotted framing to work around. The trade-off is that everything depends on sequencing: windows have to go in at the right point in the build, flashed correctly the first time, before the weather barrier and siding cover up the evidence.
Whatcom County's climate doesn't forgive shortcuts here. Homes out toward Van Zandt see long stretches of driving rain, damp air carrying salt off the Sound, and a moss season that can run most of the year on shaded, north-facing walls. A window that's caulked instead of properly flashed will usually look fine for the first year or two. The problems show up later, as hidden rot in the framing around the opening — and by then it's a much bigger repair than it would have been to do the flashing right at framing stage.
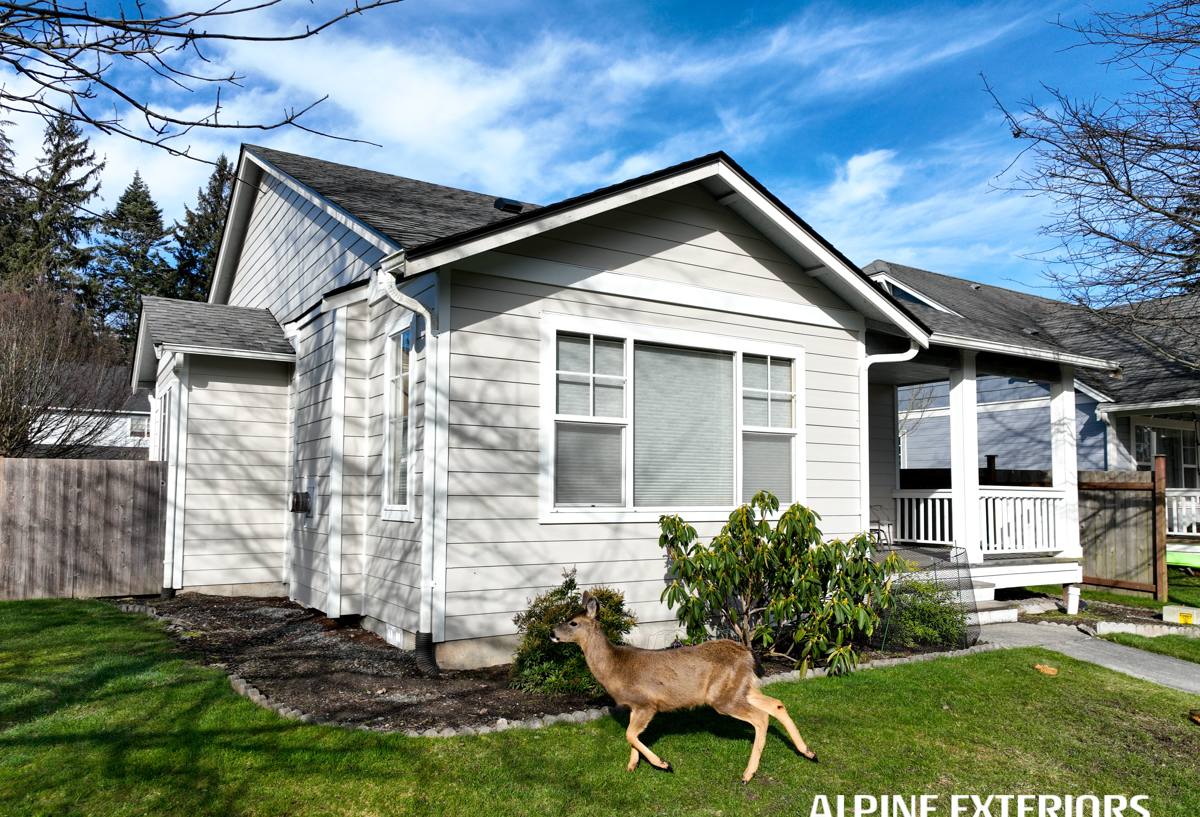
What This Climate Actually Does to a Window Opening
Driving Rain and Wind-Driven Moisture
Wind-driven rain doesn't just fall on a window — it gets pushed sideways and up under trim, siding laps, and poorly lapped flashing. On a new build, that means every layer around the opening (weather-resistive barrier, flashing tape, sill pan, head flashing) has to be installed in the correct shingle-style order so water sheds outward at every joint, with no reverse laps that let it track back into the wall.
Salt Air and Hardware Corrosion
Homes closer to the water carry salt-laden air further inland than people expect, and it accelerates corrosion on fasteners, hinges, and cheaper hardware finishes over time. It's a slower issue than a moisture leak, but it affects how long a window operates smoothly and how well weatherstripping and locks hold up.
Moss, Shade, and Sustained Dampness
A long moss season means shaded exterior walls, north sides, and areas under roof overhangs stay damp far longer after a storm than they would in a drier climate. That sustained dampness is exactly what rot needs if there's ever a small gap in the flashing. It's also why sill design and drainage at the bottom of the opening matter as much as the seal around the edges.
Getting the Rough Opening and Flashing Right the First Time
On a new-construction install, the sequence matters more than the window itself. Framers, the weather-resistive barrier, and the window installer all have to coordinate so nothing gets covered up before it's inspected. A correct install generally follows this order:
- Rough opening framed square, plumb, and to the manufacturer's specified dimensions — not just "close enough."
- Sill pan flashing installed with back-dam and end dams so any water that gets past the window drains back outward, not into the wall cavity.
- Weather-resistive barrier lapped correctly at the opening before the window goes in.
- Window set, shimmed level and plumb, and fastened per the manufacturer's schedule — not just a few screws where it's convenient.
- Flashing tape applied at jambs and head in proper shingle-lap order, with the head flashing last so it laps over everything below it.
- Gaps between the frame and rough opening insulated with a low-expansion foam or backer rod, not packed solid, so the frame doesn't bow.
- Exterior sealant applied only where it's supposed to carry the load — sealant is a backup to good flashing, never a substitute for it.
Skipping or rushing any one of these steps is invisible on install day and only shows up years later as a stain on drywall or soft trim.
Choosing Frame Material and Glass for This Climate
New construction gives you a real choice of frame material before anything is locked in. Each option has trade-offs worth weighing against Van Zandt's weather rather than against a showroom in a dry climate.
| Frame Material | How It Handles This Climate | Maintenance |
|---|---|---|
| Vinyl | Won't rot or corrode; performs well in damp, mild climates; can expand/contract with big temperature swings, less of a concern here | Low — occasional cleaning |
| Fiberglass | Very stable in temperature and moisture, holds paint well if you want a custom color | Low — very durable finish |
| Wood-clad | Good insulating value and classic look, but any breach in the cladding exposes wood to sustained dampness | Higher — needs monitoring at joints and sills |
| Aluminum | Strong and slim sightlines, but conducts cold and can condense in our damp winters unless thermally broken | Moderate — check thermal break quality |
Glass package matters just as much as frame material. For this area, a double-pane, low-E, argon-filled unit is the practical baseline — it manages heat loss through our mild but persistently damp winters and cuts down on interior condensation on cold, humid mornings. Triple-pane is worth discussing on north-facing or exposed elevations if noise or comfort is a priority, but it adds weight and cost that isn't always necessary on every wall of the house.
Working With Your Builder's Timeline
New-construction window installs live inside someone else's schedule — usually a general contractor's framing and dry-in timeline. That creates a few things worth planning for early:
- Windows should be ordered as soon as rough openings are finalized on the plans, since lead times can run several weeks and a late order can hold up dry-in for the whole crew.
- Someone needs to verify actual framed opening sizes against the window order before install day — plan dimensions and as-built framing don't always match exactly.
- Flashing and install should happen before siding starts, and ideally get a look from whoever is doing your weatherization or energy inspection, if your build requires one.
- Any changes to window sizes or styles after framing is complete should go through the builder, not get decided independently on site.
We're used to plugging into that sequence as a specialty sub, communicating directly with the general contractor or the homeowner acting as their own GC, rather than working in isolation from the rest of the build.
Our Process for New-Construction Window Installs
For a Van Zandt build, our process is straightforward and doesn't skip steps to save time:
- Walk the framed openings with the builder or homeowner to confirm sizes, swing directions, and any special units before ordering.
- Order windows with enough lead time built into the schedule to avoid holding up dry-in.
- Install sill pan flashing and confirm drainage at every opening before the window goes in.
- Set, shim, and fasten each window to the manufacturer's specification — this is what keeps the warranty valid if something ever does go wrong.
- Flash head and jambs in correct shingle-lap order, coordinated with whoever is running the weather-resistive barrier.
- Walk every opening with the builder before siding closes it in, so any issue gets caught while it's still an easy fix.
Why a Crew That Already Works Van Zandt Matters
New-construction window work in rural Whatcom County isn't identical to a job in town. Lots out toward Van Zandt tend to be larger and more exposed to weather off open farmland or wooded terrain, driveways and access can affect how materials get staged, and local building department expectations around flashing and energy code documentation are worth knowing before inspection day, not after a failed one. A crew that's done this work in the area already knows which details the inspectors look at closely and doesn't have to learn the county's process on your project.
There's also a simple accountability argument: a contractor based in and around Sumas has a reason to stand behind the work years down the road, because they're not driving in from out of the area for a one-time job. If a window ever needs adjustment or warranty service, that matters.
What New-Construction Windows Cost — and What Drives the Price
Pricing for new-construction windows depends on several factors more than it does on any single "per window" number. Broadly, expect the total to move up or down based on:
| Factor | Why It Affects Price |
|---|---|
| Frame material | Vinyl is generally the most economical; fiberglass and wood-clad cost more upfront |
| Glass package | Upgrading from standard double-pane low-E to triple-pane or specialty coatings adds cost per unit |
| Number and size of openings | Larger units and more of them scale the total install labor and material cost |
| Special shapes or operable styles | Casements, custom shapes, and large sliders or lift units cost more than standard double-hungs |
| Site access and staging | Rural lots with longer driveways or difficult truck access can add modest labor time |
We'll always give a written, itemized quote before ordering anything, broken out by opening, so you can see exactly where the money is going and make trade-offs on specific windows if the budget needs it.
Before Windows Go In: A Practical Checklist
- Confirm final window schedule (sizes, styles, swing directions) matches the approved plans.
- Verify rough openings are framed square, plumb, and to spec before ordering is finalized.
- Confirm sill pan flashing and drainage path at every opening, especially on shaded or north-facing walls.
- Check that flashing tape and weather-resistive barrier lap in the correct shingle order at each window.
- Make sure fastening follows the manufacturer's schedule, not a shortcut pattern, to keep the warranty intact.
- Walk every opening with your builder before siding closes it in — this is the last easy chance to catch a problem.
If you're planning a new build in Van Zandt or anywhere else around Sumas, we're glad to take a look at your plans and walk the site once framing is up. Reach out for a free, no-pressure estimate — there's a form just below to get started.