 Sumas Window
 Why Window Replacement Isn't Just "Popping Out the Old One"
Most homeowners picture window replacement as a quick swap: old window out, new window in, done by lunch. The actual process has more steps than that, and skipping or rushing any of them is where problems start — drafts two winters later, fogged glass, or worse, hidden rot around the opening that nobody caught because nobody looked. In a place like Sumas, where wind-driven rain and long stretches of damp, mossy weather are part of the yearly rhythm, the prep and sealing steps matter as much as the window itself.
This page walks through the process the way it actually unfolds, step by step, so you know what to expect before a crew ever shows up at your house.
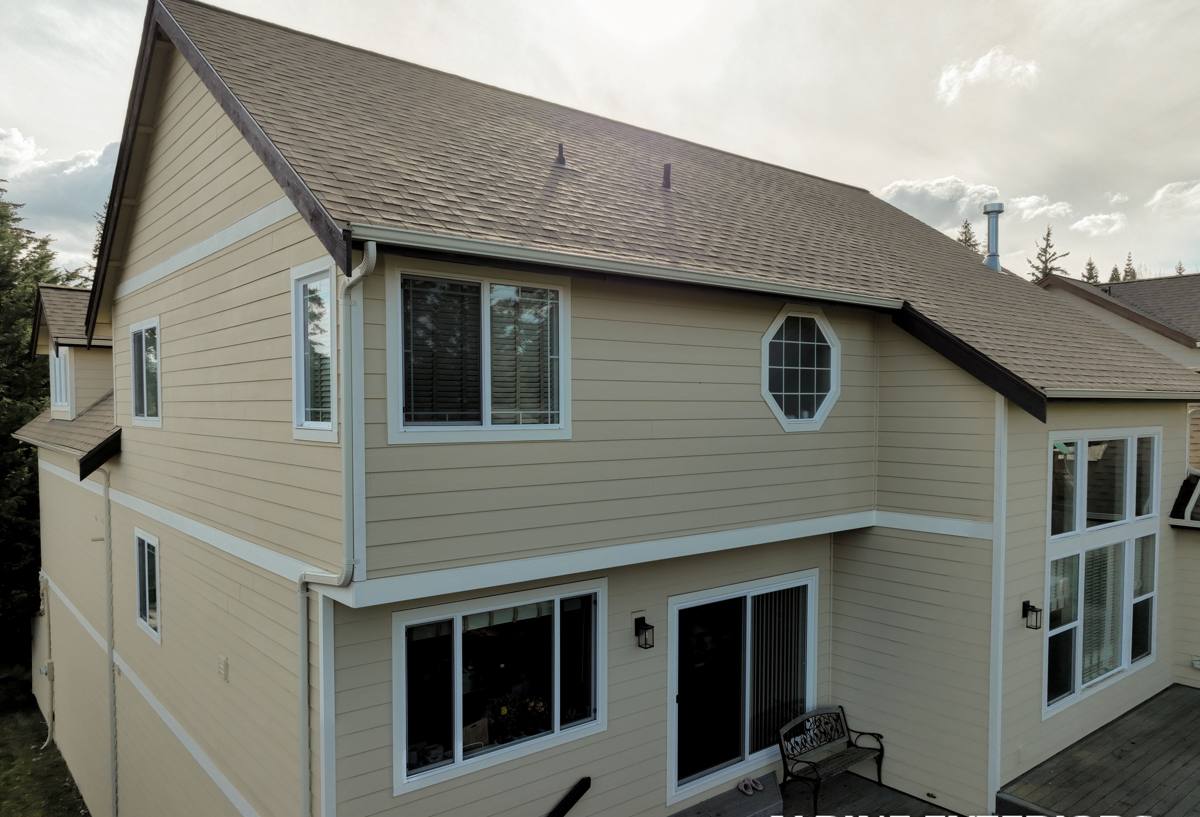
Step 1: The In-Home Assessment and Measurement
Before anything gets ordered, someone needs to physically measure every opening. This isn't a five-minute job. A proper assessment includes:
- Exact width and height measurements at multiple points (openings are rarely perfectly square, especially in older homes)
- A check of the framing condition — probing for soft wood, staining, or gaps that suggest past water intrusion
- Notes on siding type, since it affects how the new window gets flashed and trimmed
- A look at interior sill and casing condition, particularly in rooms that face prevailing weather
This is also the point where you decide between an insert (new window fitted into the existing frame) and a full-frame replacement (old frame removed down to the rough opening). Insert replacement is faster and less disruptive, but it only makes sense if the existing frame is solid and dry. If there's evidence of rot or long-term moisture damage — which shows up more often on north- and west-facing walls that catch the brunt of Whatcom County's driving rain — a full-frame replacement is the honest recommendation, even though it costs more and takes longer.
Why This Step Gets Skipped (and Shouldn't)
Some installers measure fast and order fast to win the job on price and speed. The risk is a window that's ordered to the wrong opening size, or one installed over framing that was already compromised. A careful assessment up front is what keeps the rest of the process from turning into a change order midway through.
Step 2: Choosing Materials for the Local Climate
Frame material and glass package aren't just style choices — they affect how the window handles years of moisture cycling, temperature swings, and UV exposure. The table below covers the trade-offs in plain terms.
| Frame Material | Moisture Behavior | Maintenance | Typical Lifespan |
|---|---|---|---|
| Vinyl | Won't rot; seams can loosen over decades of thermal cycling | Low — occasional cleaning | 20-30+ years |
| Fiberglass | Very stable in wet-dry cycles; minimal expansion/contraction | Low | 30-40+ years |
| Wood-clad | Good if cladding stays intact; vulnerable where seals fail | Moderate — watch cladding seams and interior wood trim | 20-30 years, cladding-dependent |
| Aluminum | Conducts cold, prone to condensation without thermal breaks | Low, but condensation issues need monitoring | 20-30 years |
Glass matters just as much as frame material. In a marine-influenced climate with long grey stretches and driving rain, a double-pane unit with a low-E coating and an argon fill is the practical baseline — it cuts heat loss and reduces condensation on interior glass during cold snaps. Triple-pane adds performance but also weight and cost, which matters more on larger openings or older framing that wasn't built to carry it.
Step 3: Ordering and Lead Times
Once sizes and materials are finalized, windows are ordered to spec — they're not stock items sitting on a shelf. Lead times vary by manufacturer and product line, but homeowners should expect several weeks between order and delivery, longer for custom shapes, specialty grilles, or larger sizes. This is the point in the process where patience pays off: rushing an order to save a week or two is how the wrong glass package or the wrong size ends up on your house.
While you wait, this is a good time to plan around the install date — moving furniture, window treatments, and anything fragile away from the work area, and thinking through pets and kids' schedules for the day the crew is on site.
Step 4: Prepping Your Home for Install Day
A little prep on your end makes install day faster and cleaner:
- Clear a path to each window, inside and out, including furniture and window coverings
- Remove blinds, curtains, and anything mounted directly to the window trim
- Set aside breakables in rooms adjacent to the work area — vibration from removal can travel further than you'd expect
- Plan for temporary openings in exterior walls; even with a same-day install, weather can affect the schedule
- Confirm parking and access for the crew, especially on tighter lots
Step 5: What Actually Happens on Install Day
Removal
The old window is removed carefully, with attention to not damaging the surrounding siding or interior finishes. This is also the second chance to inspect the framing — sometimes issues aren't visible until the old unit is fully out.
Opening Prep
The rough opening gets cleaned, leveled if needed, and any damaged material is addressed before the new window goes in. This is not optional — setting a new window into a compromised opening just repeats whatever problem was there before, and it will resurface.
Setting the Window
The new unit is set, shimmed level and plumb, and secured. Getting this right affects how smoothly the window operates for decades — a window installed slightly out of square will bind, won't seal evenly, and will wear its hardware faster.
Flashing and Sealing
This is the step that matters most for long-term performance in a wet climate. Proper flashing directs any water that gets behind the siding back out and away from the framing, rather than trapping it. Sealant is applied at specific points — not slathered everywhere — because over-sealing can trap moisture just as badly as under-sealing. This detail is where a lot of the difference between a window that lasts and one that causes problems in five years actually comes from, and it's largely invisible once the trim goes back on.
Trim and Finish
Interior and exterior trim is reinstalled or replaced, gaps are insulated, and the window is checked for smooth operation — opening, closing, and locking without sticking or gapping.
Step 6: Final Walkthrough and Cleanup
Before the crew leaves, every window should be operated, checked for level and square, and inspected for gaps or visible sealant issues. Debris and packaging should be cleared from both the work area and the yard. This is also the time to ask questions about care, warranty coverage, and what (if anything) needs attention as the caulking and sealants fully cure over the following weeks.
What to Expect in the First Season After Install
New windows need a brief settling-in period. Some things that are normal and not cause for concern:
- A faint sealant smell for the first few days
- Slight stiffness in hardware until it's operated a few times
- Minor touch-up needs on interior paint or trim where old fasteners were removed
What's not normal: visible daylight around the frame, water intrusion during heavy rain, or persistent condensation between the panes (a sign of seal failure inside the glass unit itself, which is a manufacturer defect, not an install issue). Given how much rain Whatcom County sees over a typical winter, the first few storms after installation are a reasonable real-world test — a well-installed window shouldn't show any sign of leaking.
Timeline Overview
| Stage | Typical Duration |
|---|---|
| In-home assessment and measurement | Same day, roughly 1-2 hours per house |
| Ordering and manufacturing | Several weeks, varies by product |
| Installation (per window) | Roughly 1-3 hours, depending on type and access |
| Sealant full cure | Days to a couple weeks, weather-dependent |
How Local Conditions Shape These Decisions
Whatcom County's weather isn't dramatic, but it's persistent — long stretches of grey, driving rain that comes in sideways during winter storms, and enough sustained dampness that moss takes hold on north-facing roof and siding surfaces if it's left unchecked. None of that is unusual for the region, but it does mean flashing details, sealant choices, and frame material all get weighed a little differently here than they would in a dry climate. Windows in Sumas homes are dealing with more wet-dry cycling over a given year than in most of the country, which is exactly why the framing inspection and flashing steps above aren't formalities — they're the steps that determine whether a window performs well for twenty-plus years or starts causing problems in five.
If you're weighing a window replacement project and want a straightforward, no-pressure look at your home's specific situation, we're happy to come take a look and walk you through what we'd recommend and why. Use the form below to request a free estimate.