 Sumas Window
 New-Construction Windows in Ferndale: Getting the Rough Opening Right the First Time
New-construction windows are a different job than replacement windows, even though both end with glass in a wall. A new-construction window has a nailing flange built into the frame and gets installed during framing, before siding or interior finish goes on, tied directly into the weather-resistive barrier (WRB) that wraps the house. That timing is an advantage — there's no old frame to work around, no finished siding to protect — but it also means there's no forgiving anything later. Once the siding crew closes up the wall, a flashing detail that was done wrong is buried, and it usually doesn't show itself as a problem for a year or two, right around the time it's expensive to fix.
We install new-construction windows for builders and owner-builders across Ferndale and the surrounding part of Whatcom County. The work itself follows the same fundamentals everywhere, but Ferndale's location — closer to Bellingham Bay and open water than inland towns like our home base in Sumas — puts a heavier load on those details than a lot of crews plan for.
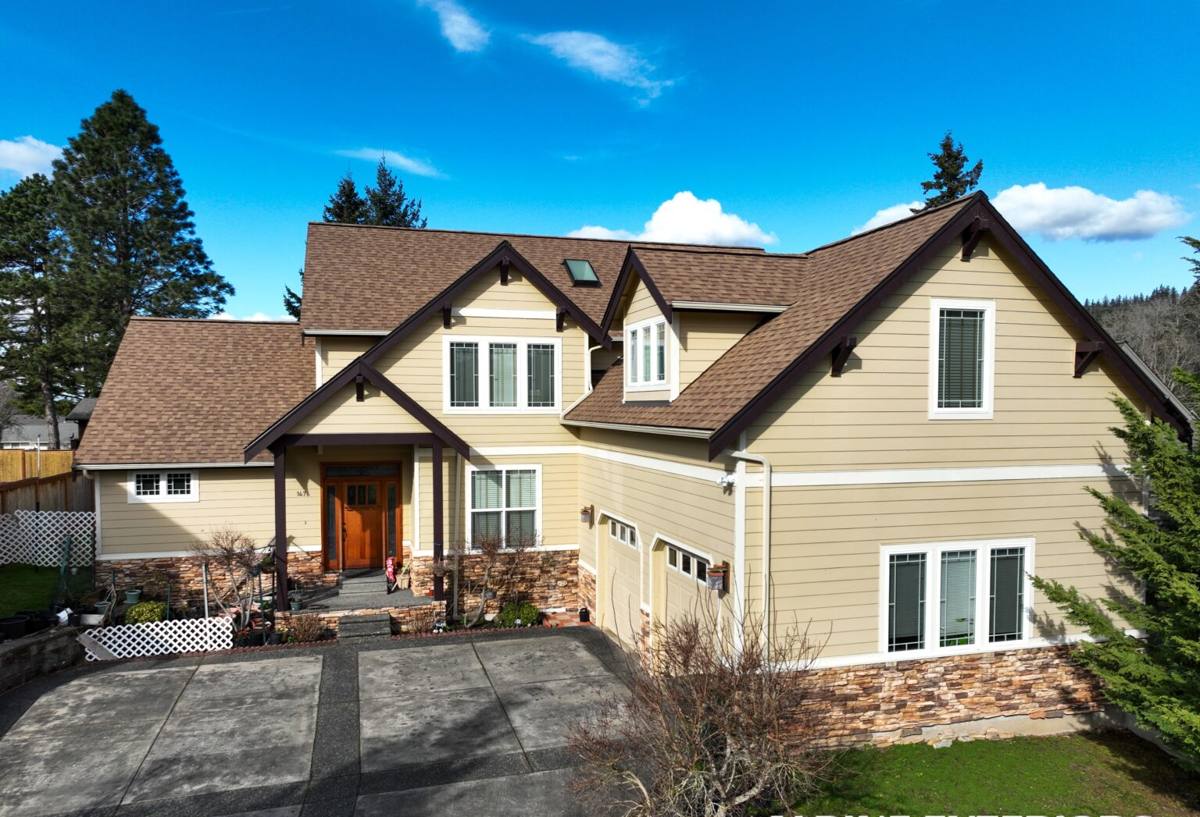
Why Ferndale's Climate Changes What "Good Enough" Means
Ferndale sits nearer the water than most of Whatcom County, and that proximity brings salt-laden air onto siding, hardware, and window components that inland builds don't deal with in the same amount. Salt air accelerates corrosion on anything metal that isn't built for it — cheap hinge pins, exposed screws, aluminum components that aren't properly finished. On a new build, that's a decision made once, at the material-selection stage, and it's a lot cheaper to make correctly the first time than to correct after the siding is on.
Add in driving rain that comes off the water sideways rather than falling straight down, and the flashing details around a new-construction window stop being a formality and start being the actual thing standing between the framing and a slow leak. Wind-driven rain finds gaps that vertical rain never would, which is exactly why the sill pan and flashing sequence matter more here than they would in a drier inland climate.
Then there's the moss season, which runs long across this part of Whatcom County — often eight or nine months in a wet year. Moss and organic growth don't damage a window directly, but they hold moisture against sills, trim, and cladding for longer stretches, which extends how long every other vulnerability has to do damage. A window detail that would dry out in a few hours somewhere drier can stay damp for days here.
What a Correct New-Construction Install Actually Involves
Rough Opening and Weather-Resistive Barrier
Before a window ever gets set, the rough opening needs to be checked for square, plumb, and level, and the WRB (housewrap) needs to already be installed and lapped correctly — upper courses over lower ones, so water sheds down and out rather than working its way in behind a seam. We check this on-site before ordering, because a rough opening that's out of tolerance either gets shimmed wrong or gets a window that never seals properly, and neither is something you want to discover after the siding's on.
Sill Pan Flashing
This is the single most common shortcut we see skipped on rushed jobs, and it's the one detail that matters most in a driving-rain climate. A sill pan — sloped toward the exterior — catches any water that gets past the window itself and directs it back outside instead of into the wall framing. Skipping it, or relying on caulk alone, works fine in a dry climate and fails quietly in this one.
Flange Integration and Shingle-Lap Sequencing
Flashing tape goes on in a specific order — sill first, then jambs, then head — so every layer overlaps the one below it like shingles on a roof. Water always moves down and out over that stack, never behind it. A drip cap or head flashing above the window sheds the largest volume of water away from the top of the opening, which is where wind-driven rain hits hardest on an exposed wall.
Interior Air Sealing
Backer rod and sealant on the interior side aren't just an energy-efficiency detail — they stop warm, moist interior air from reaching the cold glass and frame, which is what drives condensation. In a damp climate with a long moss season, keeping that boundary sealed correctly also keeps the frame itself drier, which matters for anything other than solid vinyl or fiberglass.
Choosing a Frame Material That Will Actually Hold Up Here
Material choice on a new build isn't just about upfront cost — it's about what the frame and hardware have to survive for the next few decades in this specific location. Here's how the common options compare for a site with salt air exposure and a long wet season:
| Frame Material | Salt Air / Corrosion Resistance | Moisture & Moss Season Behavior | Relative Cost |
|---|---|---|---|
| Vinyl | Strong — no exposed metal to corrode | Doesn't absorb moisture; needs periodic cleaning to keep weep paths clear | Lowest to mid |
| Fiberglass | Strong — dimensionally stable, corrosion-resistant hardware options | Very stable in wet/dry cycling; low maintenance | Mid to higher |
| Wood-clad | Depends on cladding and hardware quality; exposed wood is vulnerable | Needs consistent maintenance to keep finish and seals intact | Higher |
| Bare aluminum | Weakest without marine-grade finish; prone to pitting near salt air | Conducts cold, prone to interior condensation in damp climates | Varies |
None of these is wrong in every situation, but on a site this close to the water, we lean toward vinyl or fiberglass with corrosion-resistant hardware as the default recommendation, and we'll walk through the trade-offs on any project where a builder or homeowner has a different material in mind. The goal is matching the frame to the site, not pushing one product regardless of fit.
Meeting Washington's Energy Code Without Losing Time
New-construction windows have to clear Washington's state energy code before a building inspector will sign off on the framing stage, which means the U-factor and solar heat gain numbers on the window's NFRC label have to match what was submitted with the permit. This is a paperwork step as much as a performance one — if the windows that show up on-site don't carry labels matching the approved plans, the inspection gets delayed and the whole framing schedule backs up behind it.
Bedroom windows also have to meet egress requirements — minimum opening size and a maximum sill height off the finished floor — which needs to be confirmed against the approved plans before windows are ordered, not after they're delivered and don't fit the code requirement. We check both of these against the plan set up front so the inspection isn't the first place a mismatch turns up.
How We Work With Builders and Owner-Builders on a New Build
Coordinating with a framing and siding schedule is most of what makes a new-construction window job go smoothly or go sideways. Our process on a Ferndale build typically runs like this:
- Site visit during or right after framing to verify rough openings against the approved plan set
- Order windows with confirmed sizes, U-factor/SHGC specs, and egress requirements locked in
- Confirm delivery timing against the builder's framing and dry-in schedule so windows aren't sitting exposed on-site longer than necessary
- Install with sill pan flashing, WRB integration, and shingle-lap flashing sequencing done to spec
- Walk-through with the builder or homeowner before siding closes up the wall — the last real chance to inspect flashing before it's buried
That last step matters more than it sounds like it should. Once siding goes on, nobody's checking flashing again until there's a problem.
Before Your Windows Get Set, We Confirm:
- Rough openings match the approved plan set, square and plumb
- WRB is installed and lapped correctly ahead of window installation
- Sill pan flashing material is compatible with the WRB already on the wall
- Window U-factor and SHGC match the energy code submittal
- Bedroom egress sizing and sill height meet code
- Delivery timing lines up with the framing and dry-in schedule
- Openings stay weather-protected until siding closes up the wall
Why Local Experience on Ferndale Builds Matters
A crew that hasn't worked this specific stretch of Whatcom County sometimes treats a new-construction window install like it would in a drier, calmer climate — skip the sill pan, rely on caulk at the flange, call it done. That approach can pass a rough inspection and still leak the first winter a storm drives rain sideways into the wall. Working Ferndale and the surrounding coastal-influenced part of the county regularly means knowing to slope every sill toward the exterior without being asked, using flashing tape that's actually compatible with the WRB brands local builders spec, and recognizing that a slow leak here can hide behind moss and damp trim for a season before it shows up as a framing problem. That's the kind of thing you only really learn by doing the work here repeatedly, not by reading a spec sheet once.
We're based in Sumas, further inland near the Canadian border, but a meaningful share of our new-construction work is on the coastal side of Whatcom County, including Ferndale. The framing fundamentals don't change between the two, but the margin for error does.
If you're framing a new build in Ferndale — or planning one — we're glad to walk the site, look at the plan set, and put together a straightforward, no-pressure estimate for the window package. There's a short form below to get that started.